
Overview
The Workflow engine for Kuali Research is called PeopleFlow. It allows you to setup dynamic workflows which leverage your school's Unit Hierarchy to drive routing behavior. PeopleFlow integrates with the Kuali Business Rules Management system so you can also build routing rules based on the business data contained in your research documents. PeopleFlow works with the Proposal Development, Institutional Proposal, Award, and Subaward documents. Sponsored Programs offices often want to notify external offices when special needs such as compliance issues, or space management is required on a grant. This can be done by setting up an Agenda with a PeopleFlow action. This can be an FYI or Approval request.
Creating a People Flow
The first step to creating an routing action is to create a PeopleFlow with the appropriate individuals listed in a routing stop.
To complete this process first go to All Links and search for and select People Flow:

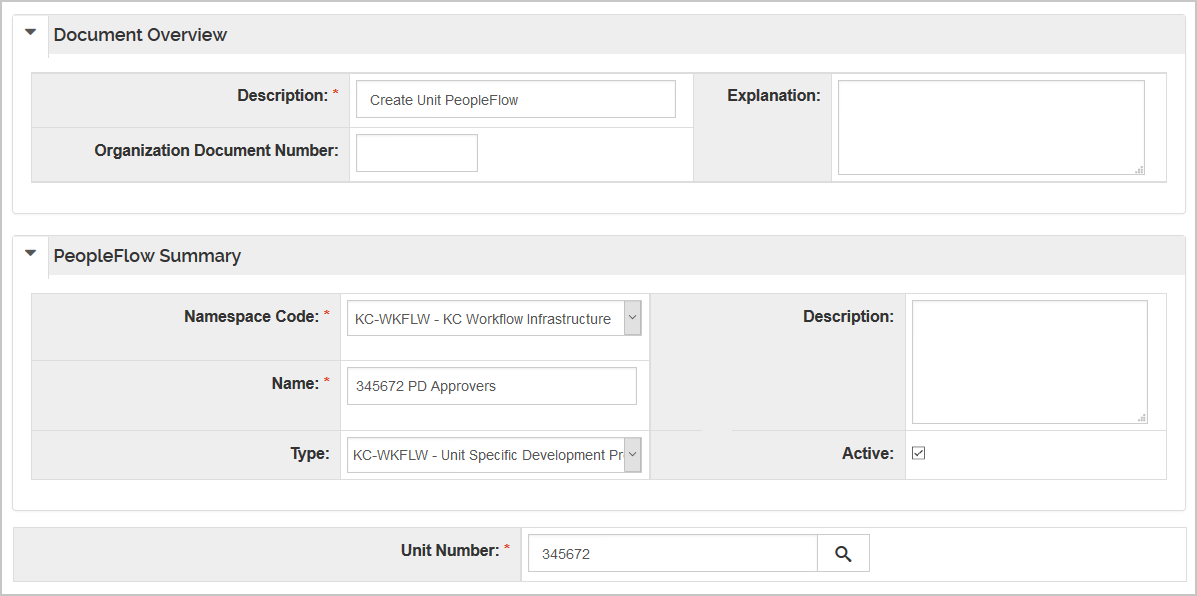
Next click the Create New button and complete the following fields:
- Description: Enter a description of the maintenance setup action you're taking.
- Namespace Code: Pick the appropriate Namespace for your routing action. This is only for reference, and won't impact functionality.
- Name: Name your People Flow document. The name must only use letters, numbers, and spaces.
- Type: Choose the appropriate type based on the descriptions below
- KC-WKFLW - KC Basic PeopleFlow if your recipient will be listed directly in the PeopleFlow document or will be maintained in a Group or a default Role.
- KC-WKFLW - KC Advanced Peopleflow if your recipient is defined in a non unit modified derived role such as PI, Aggregator, or Requisitioner.
- KC-WKFLW - Unit Specific PeopleFlow if your recipient is defined in a unit modified derived role such as a Unit Administrator type.
Under PeopleFlow Members complete the following fields.
- Stop: Enter a number. This will define when this notification is triggered. If you want it to fire immediately after your document is routed then it should be a lower number than the stop ID for the first step of your document's routing. If you want this to be confirmation of final approval, the stop ID should be higher than the last stop in your document's routing.
- Member Type: Select the appropriate member type based on the descriptions below
- Principal: If you want to list the recipients username in the PeopleFlow document
- Group: If you want to list a group who's members will receive the FYI or approval request.
- Role: If you want to list a role who's members will receive the FYI or approval request.
- Member: Lookup the recipient you want to receive an FYI or approval request when this routing stop is triggered.
- All or First Action: This only applies to approval actions. First will be chosen by default if you are using a Principal or Group type. If you are using a role type then First will approve for this stop as soon as anyone in the role takes the approval action. If you select All then the stop won't be complete until all members of the role take the approval action.
- Force Action: If you are doing an FYI this selection won't matter. If you are setting up an approval action this should be checked if you want this step to be taken manually even if the approver was included in the previous step. If you want the system to allow one approval to apply to multiple subsequent steps that include the same approver do not check Force Action.
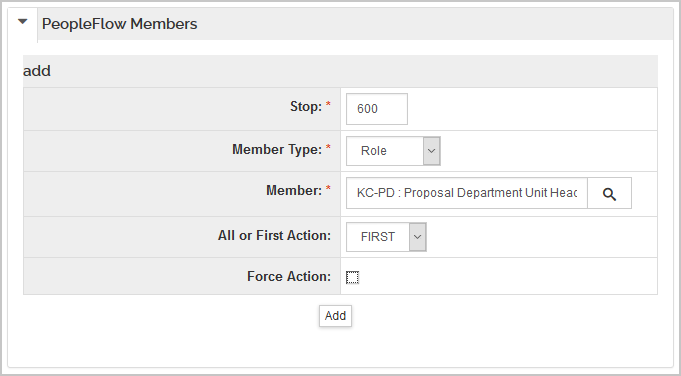
Press the Add button. Repeat the PeopleFlow Members fields and add additional stops if you want multiple FYI actions to send based on the same logic in your document.
Create an Routing Agenda
First go to All Links and search for Agenda and select:
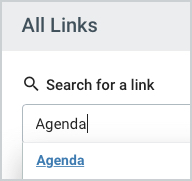
This will open the Agenda search. You can either search for an existing Agenda that you want to add your routing rule to, or you can click on the Create New button in the upper right hand corner of the screen to create a new Agenda document.
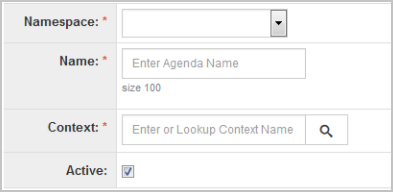
If you have initiated a new Agenda document you will need to complete the following fields.
- Namespace: The module you are adding a routing stop to.
- Name: Enter a name for your agenda. It can be the same name you gave your PeopleFlow.
- Context: Search for your module's context and add it. The search will only return the context that's paired with your Namespace.
- Active: If you uncheck this field then none of the rules in this Agenda will function. This can be useful for retiring rules as business processes change, or if you accidentally create a rule that creates a problem you can deactivate it immediately and then begin to debug your logic.
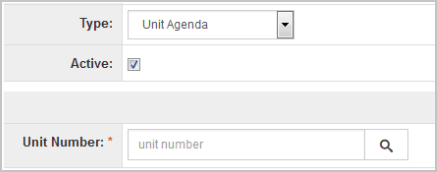
Once you have entered your Context the following fields will appear
Type: Unit Agenda
After entering the Agenda Type the following field will appear
Unit Number: For consistency add the unit number for the top level of your hierarchy. In Proposal Development you can use the Unit Number to limit which proposals this rule will execute for, but for the other modules only the top level of your hierarchy can be used.
If you edited an existing agenda pickup here.
Next click the Add Rule button on the Rules toolbar

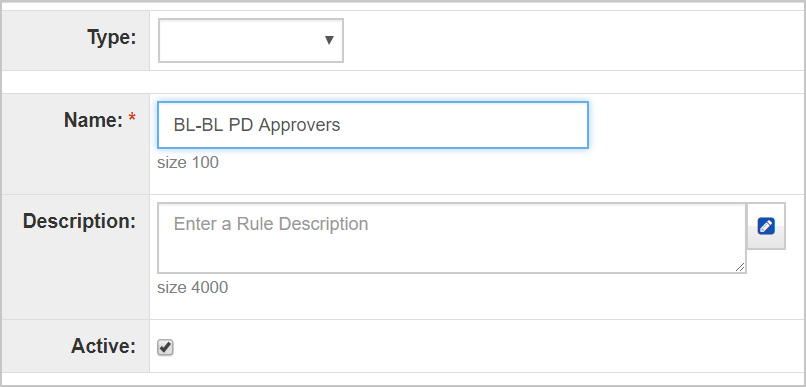
This will take you into the new rule editor. First complete the following fields.
- Type: Leave this field blank.
- Name: List the same name you used for your Peopleflow document.
- Description: This can be left blank, but you can put explanatory text here if desired.
- Active: Checked
Defining When Your Routing Rule Should Fire
If you want your rule to always fire, such as a notice to the OSP office when a final approval happens so they can submit to the sponsor then skip to the next section. If you want your routing rule to only fire when certain data is entered in your document, such as notice to the IRB office when human subjects are indicated on a proposal, click the Add button in the Propositions panel and setup your proposition logic. For more details on how to build Proposition logic please see the Cross Module - KRMS Basic Rule Setup article.
Linking your PeopleFlow and KRMS Agenda
Next scroll to the bottom of your KRMS rule and select the Route to PeopleFlow Type in the Action tab if you want to setup an approval stop. Select the Notify PeopleFlow Type if you want to setup an FYI stop. Complete the following fields.
- PeopleFlow ID: Lookup the Peopleflow you made earlier in this activity that is paired with this Agenda and click the select button next to it.
- PeopleFlow Name: This will populate automatically when you search for and return you PeopleFlow.
- Name: The same name you used for your PeopleFlow, Agenda, and Rule name.
- Description:This can be left blank, but you can put explanatory text here if desired.
Press the Add Rule button, then when the main Agenda screen reloads press the Submit button.
Comments
0 comments
Article is closed for comments.